Launch Your AI agent in Minutes
Upgrade your account to unlock all the features offered by Yellow.ai.
Create a new AI agent (for Super Admin)
Only super admins can create a new AI agent. If you are a super admin, follow these steps.
Begin by building your AI agent in a lower environment - Development or Staging. Once changes are stable and approved, publish to Live or Production.
You can only create and test agents in these non-production environments. Once your changes are stable and approved, publish them to the Live or Production environment.noteDepending on your subscription plan, you may have access to two or three environments. Use the environment switcher in the top-right corner to move between them.
- Freemium plan contains Development and Live environments
- Premium plan contains Sandbox, Staging, and Production environments.

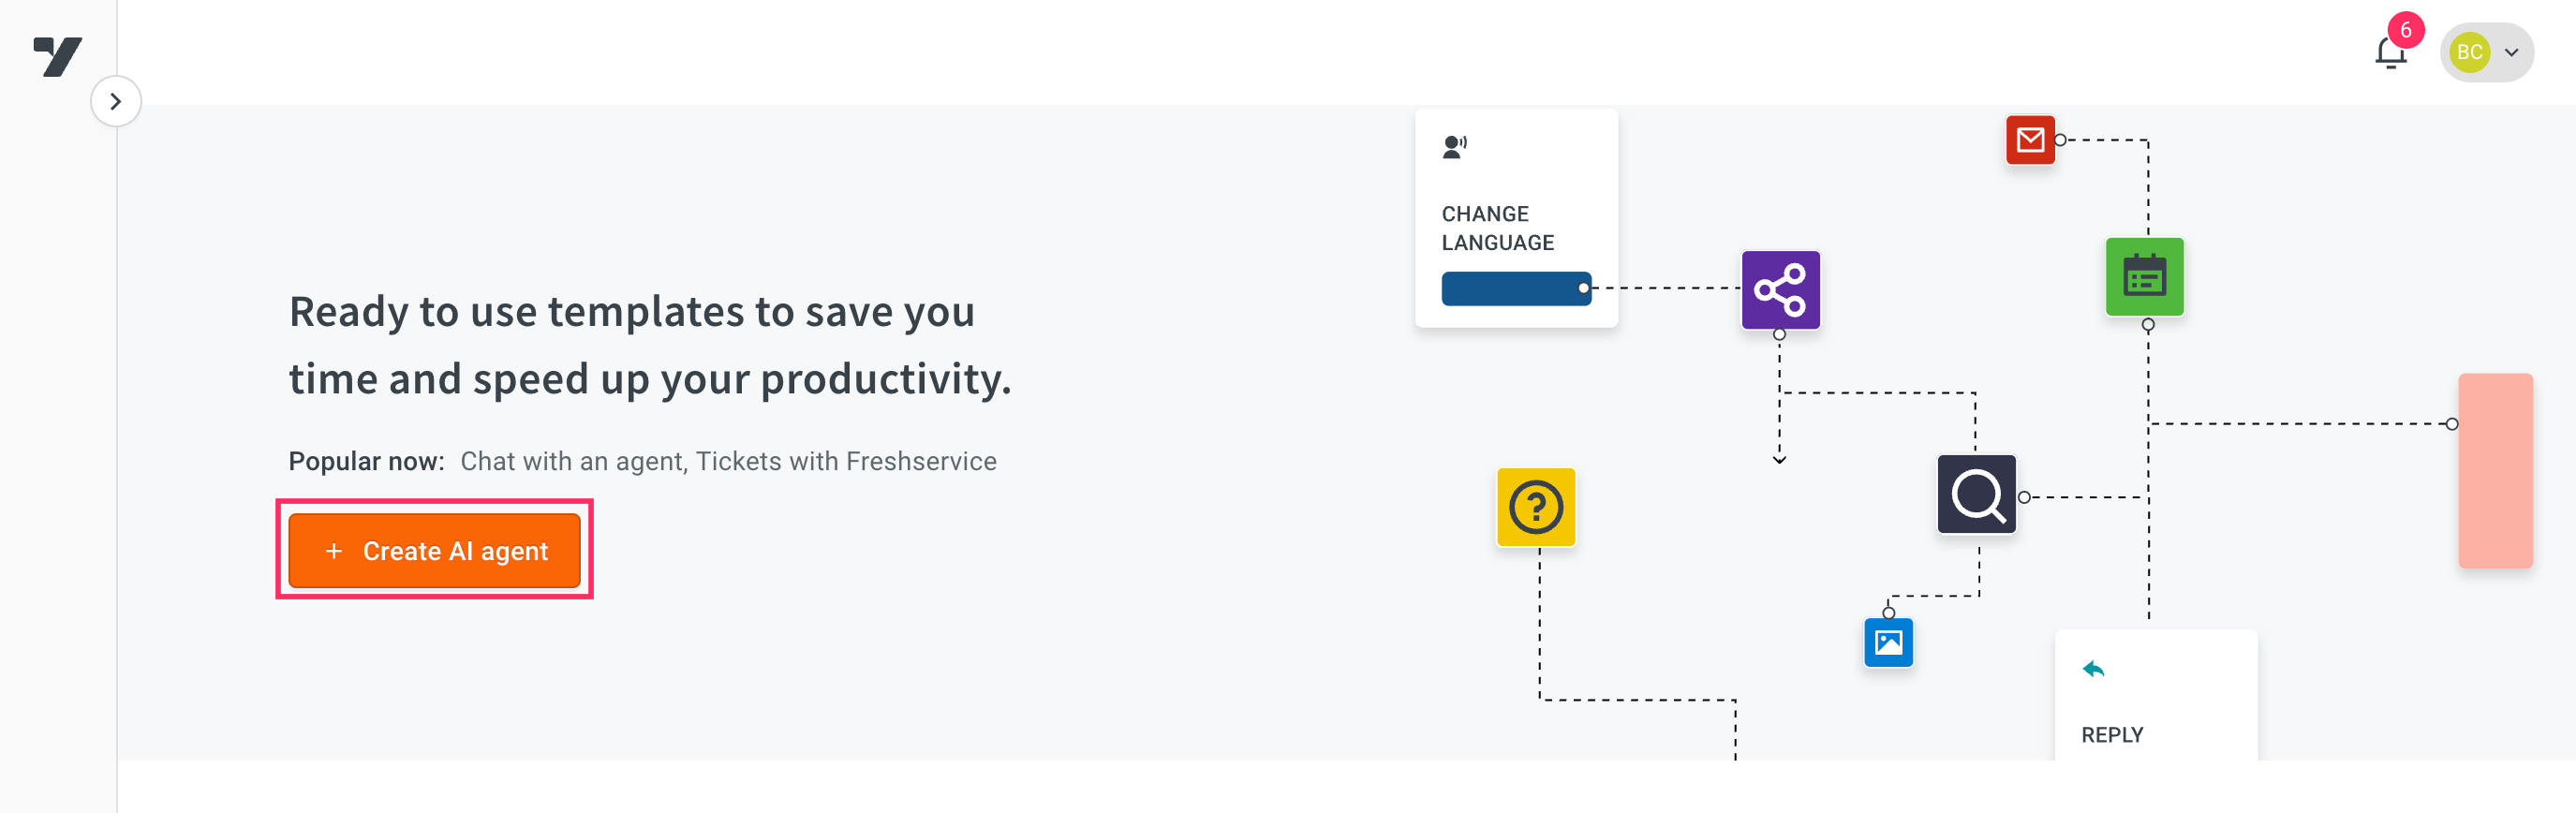
On the left navigation pane, click on the AI agent icon at the bottom and select + Create AI agent. Alternatively, You can also create directly from the Home page.
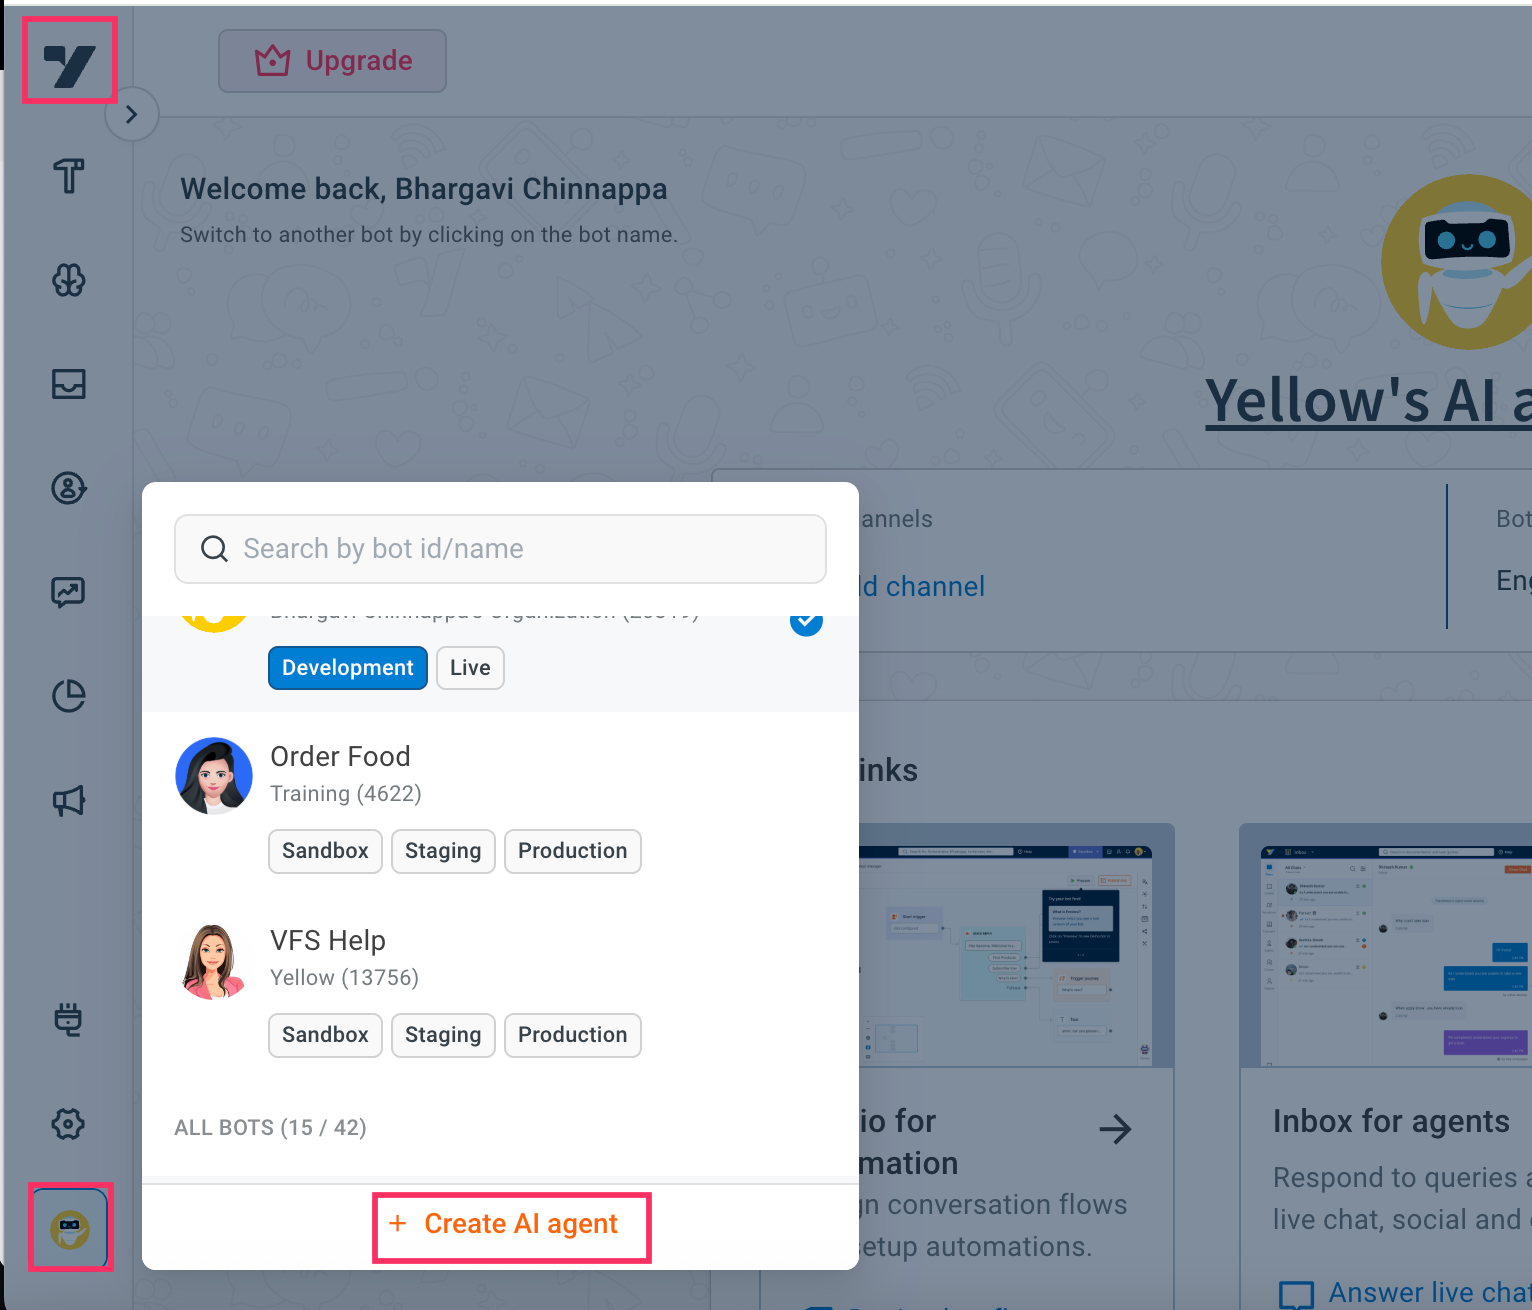
Click + Create AI agent.
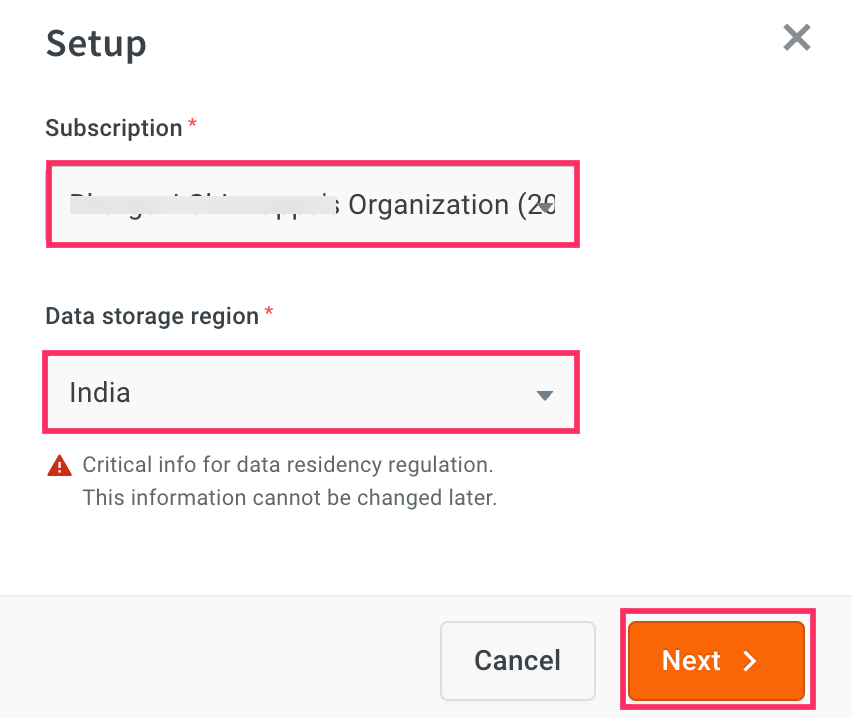
Select the subscription under which the AI agent should be created.
Choose the appropriate Data storage region where your agent’s data will be hosted and click Next.
In the + Create AI agent page, provide the following details:
- Name: Enter a unique name for your AI agent.
- Choose avatar: Select an animated avatar to visually represent your AI agent.
- Select a persona: This defines the agent’s tone and communication style. You can select from the following personas:
- Polite and persuasive: Ideal for sales agents.
- Empathetic and helpful: Best suited for support agents.
- Witty: Best for marketing agents.
- Role: Describe the role of the AI agent in less than 400 characters. For example, you are a banking assistant who helps users with Yellow Banking-related queries. Your role is focused on assisting with personal loans-guiding users to apply loan, checking loan status, and answering loan specific questions for better accuracy and support.
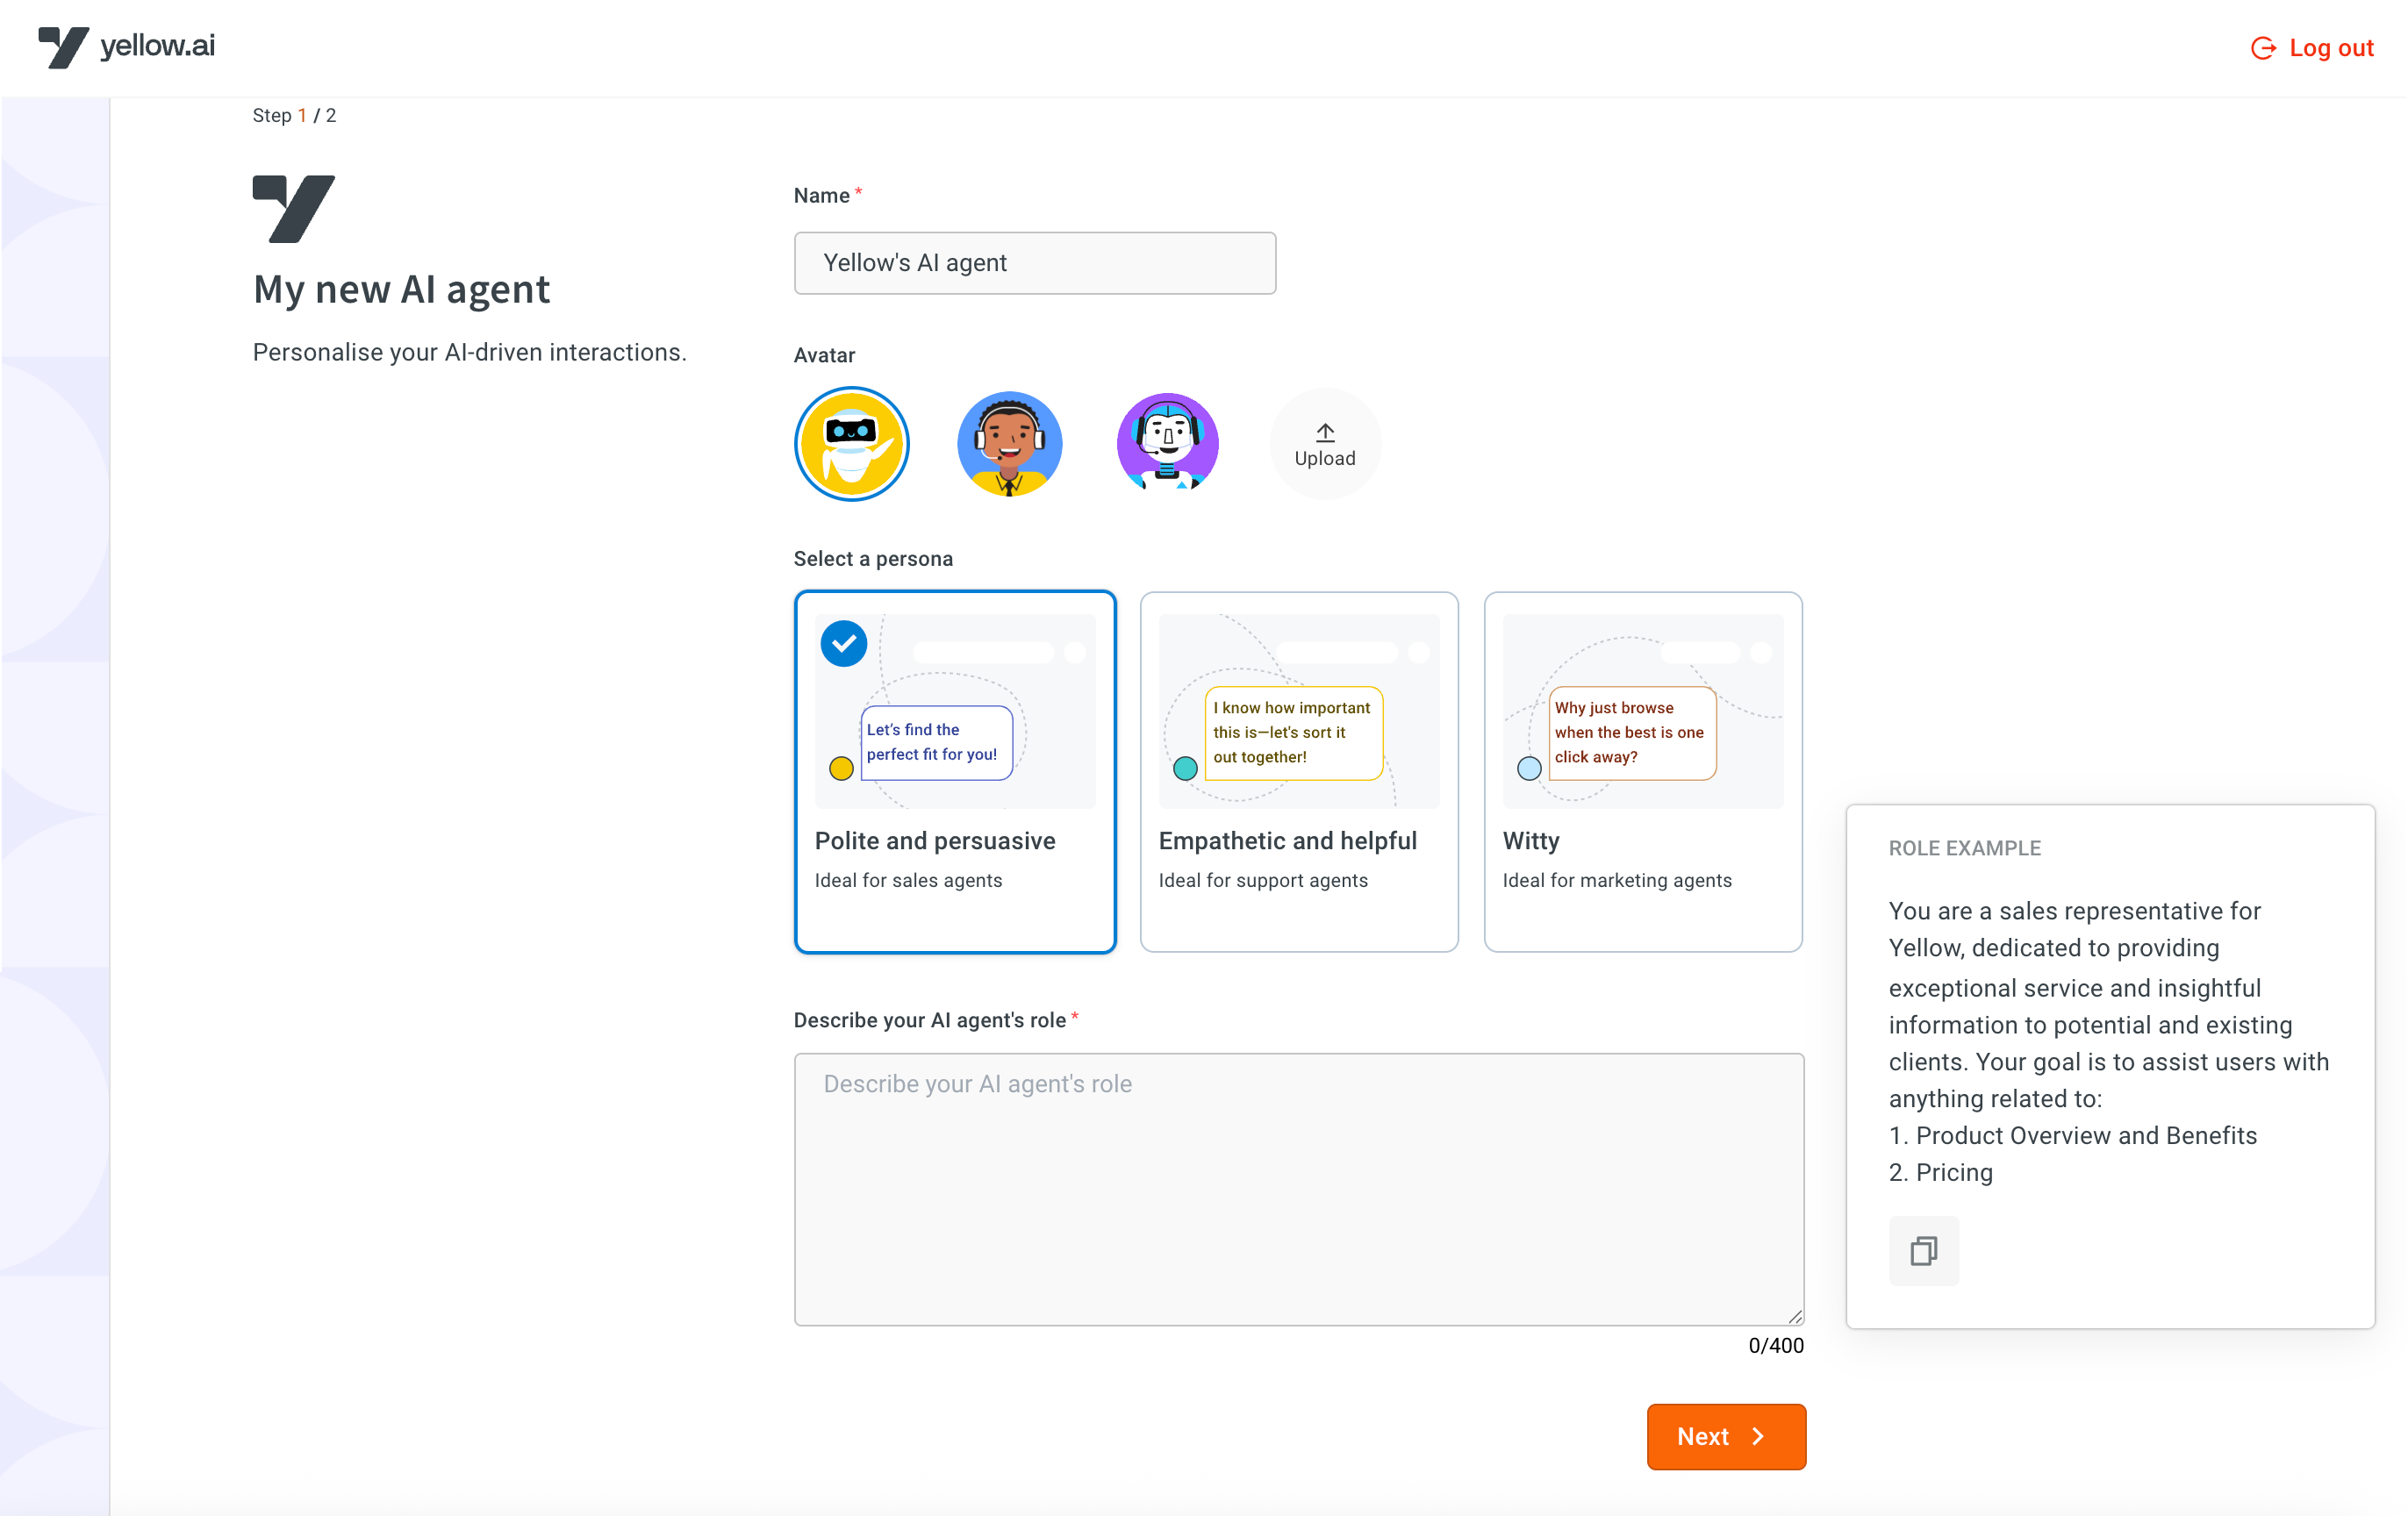
Click Next.
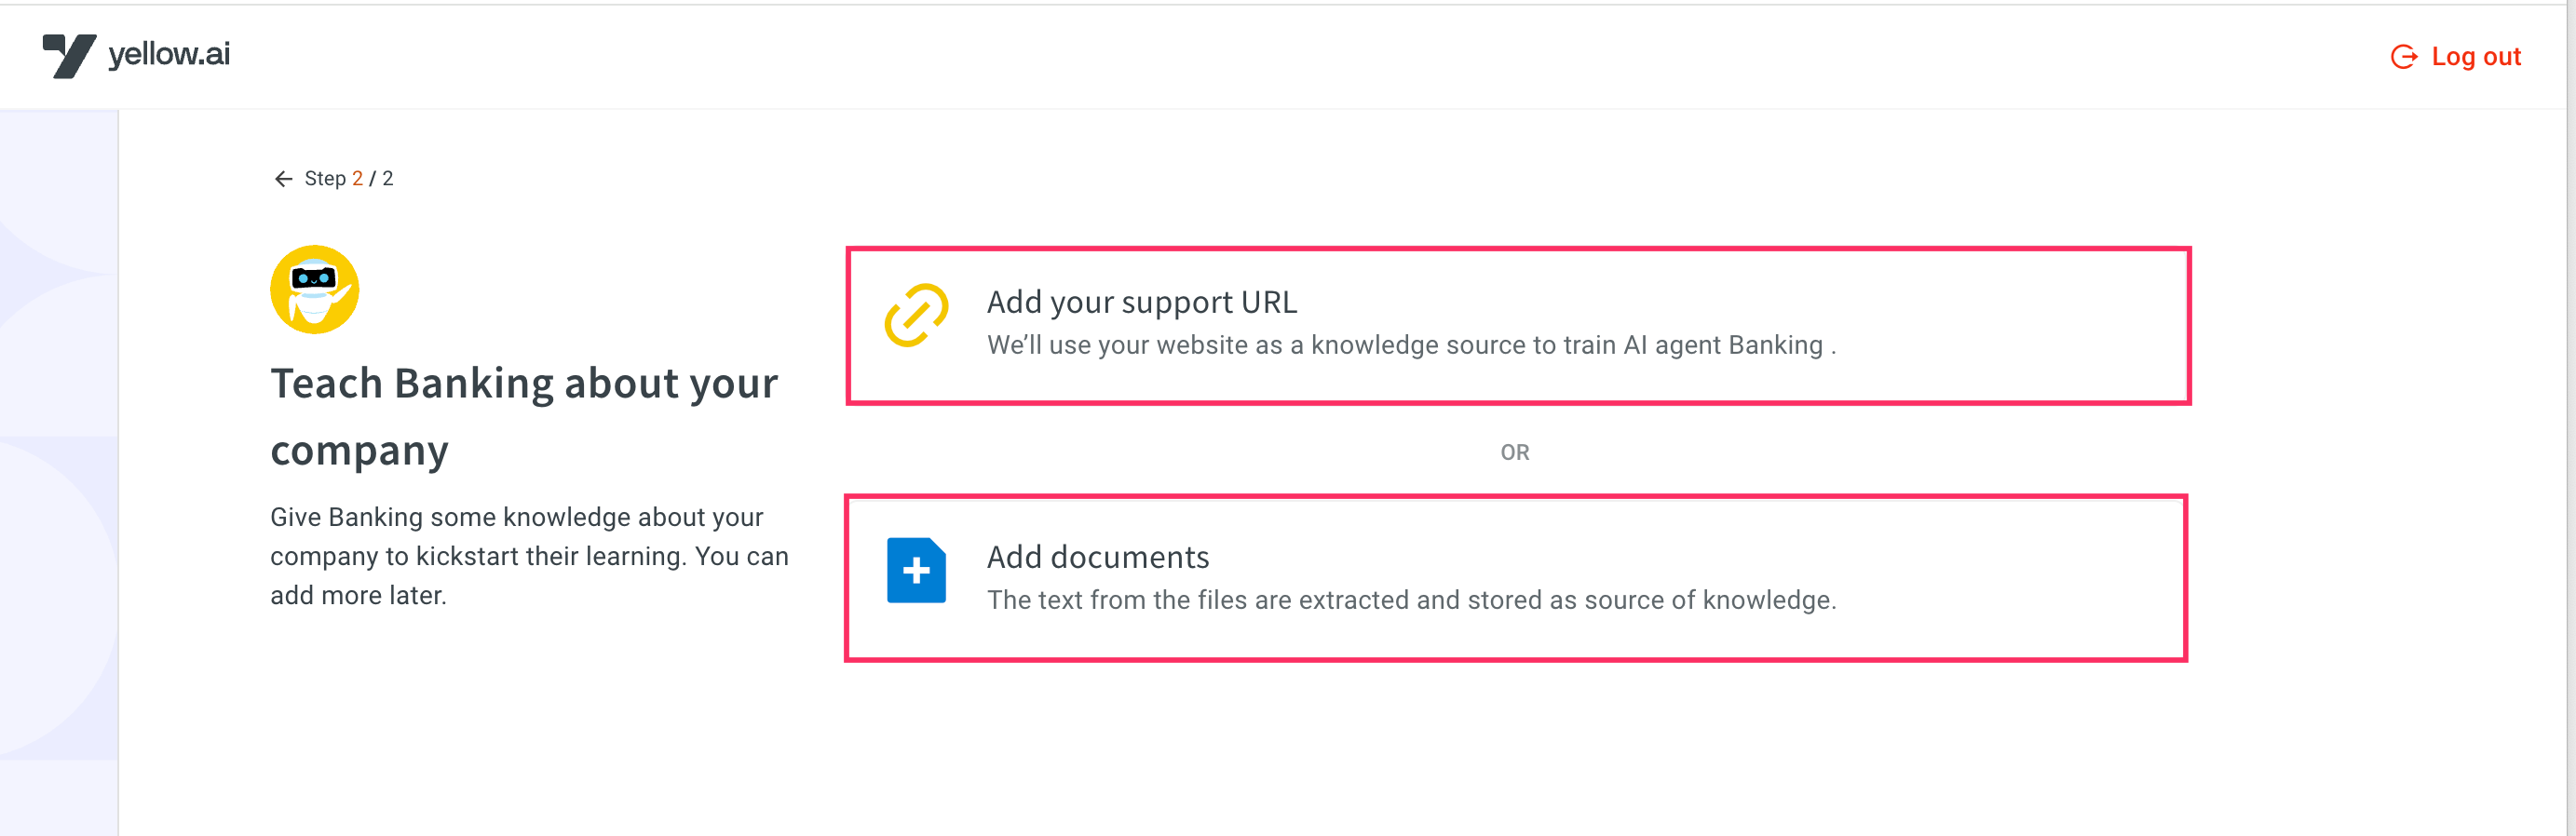
Provide either your website URL or upload documents. This content will be used to train the AI agent.
After adding the knowledge source, your AI agent will be created and ready for further configuration.
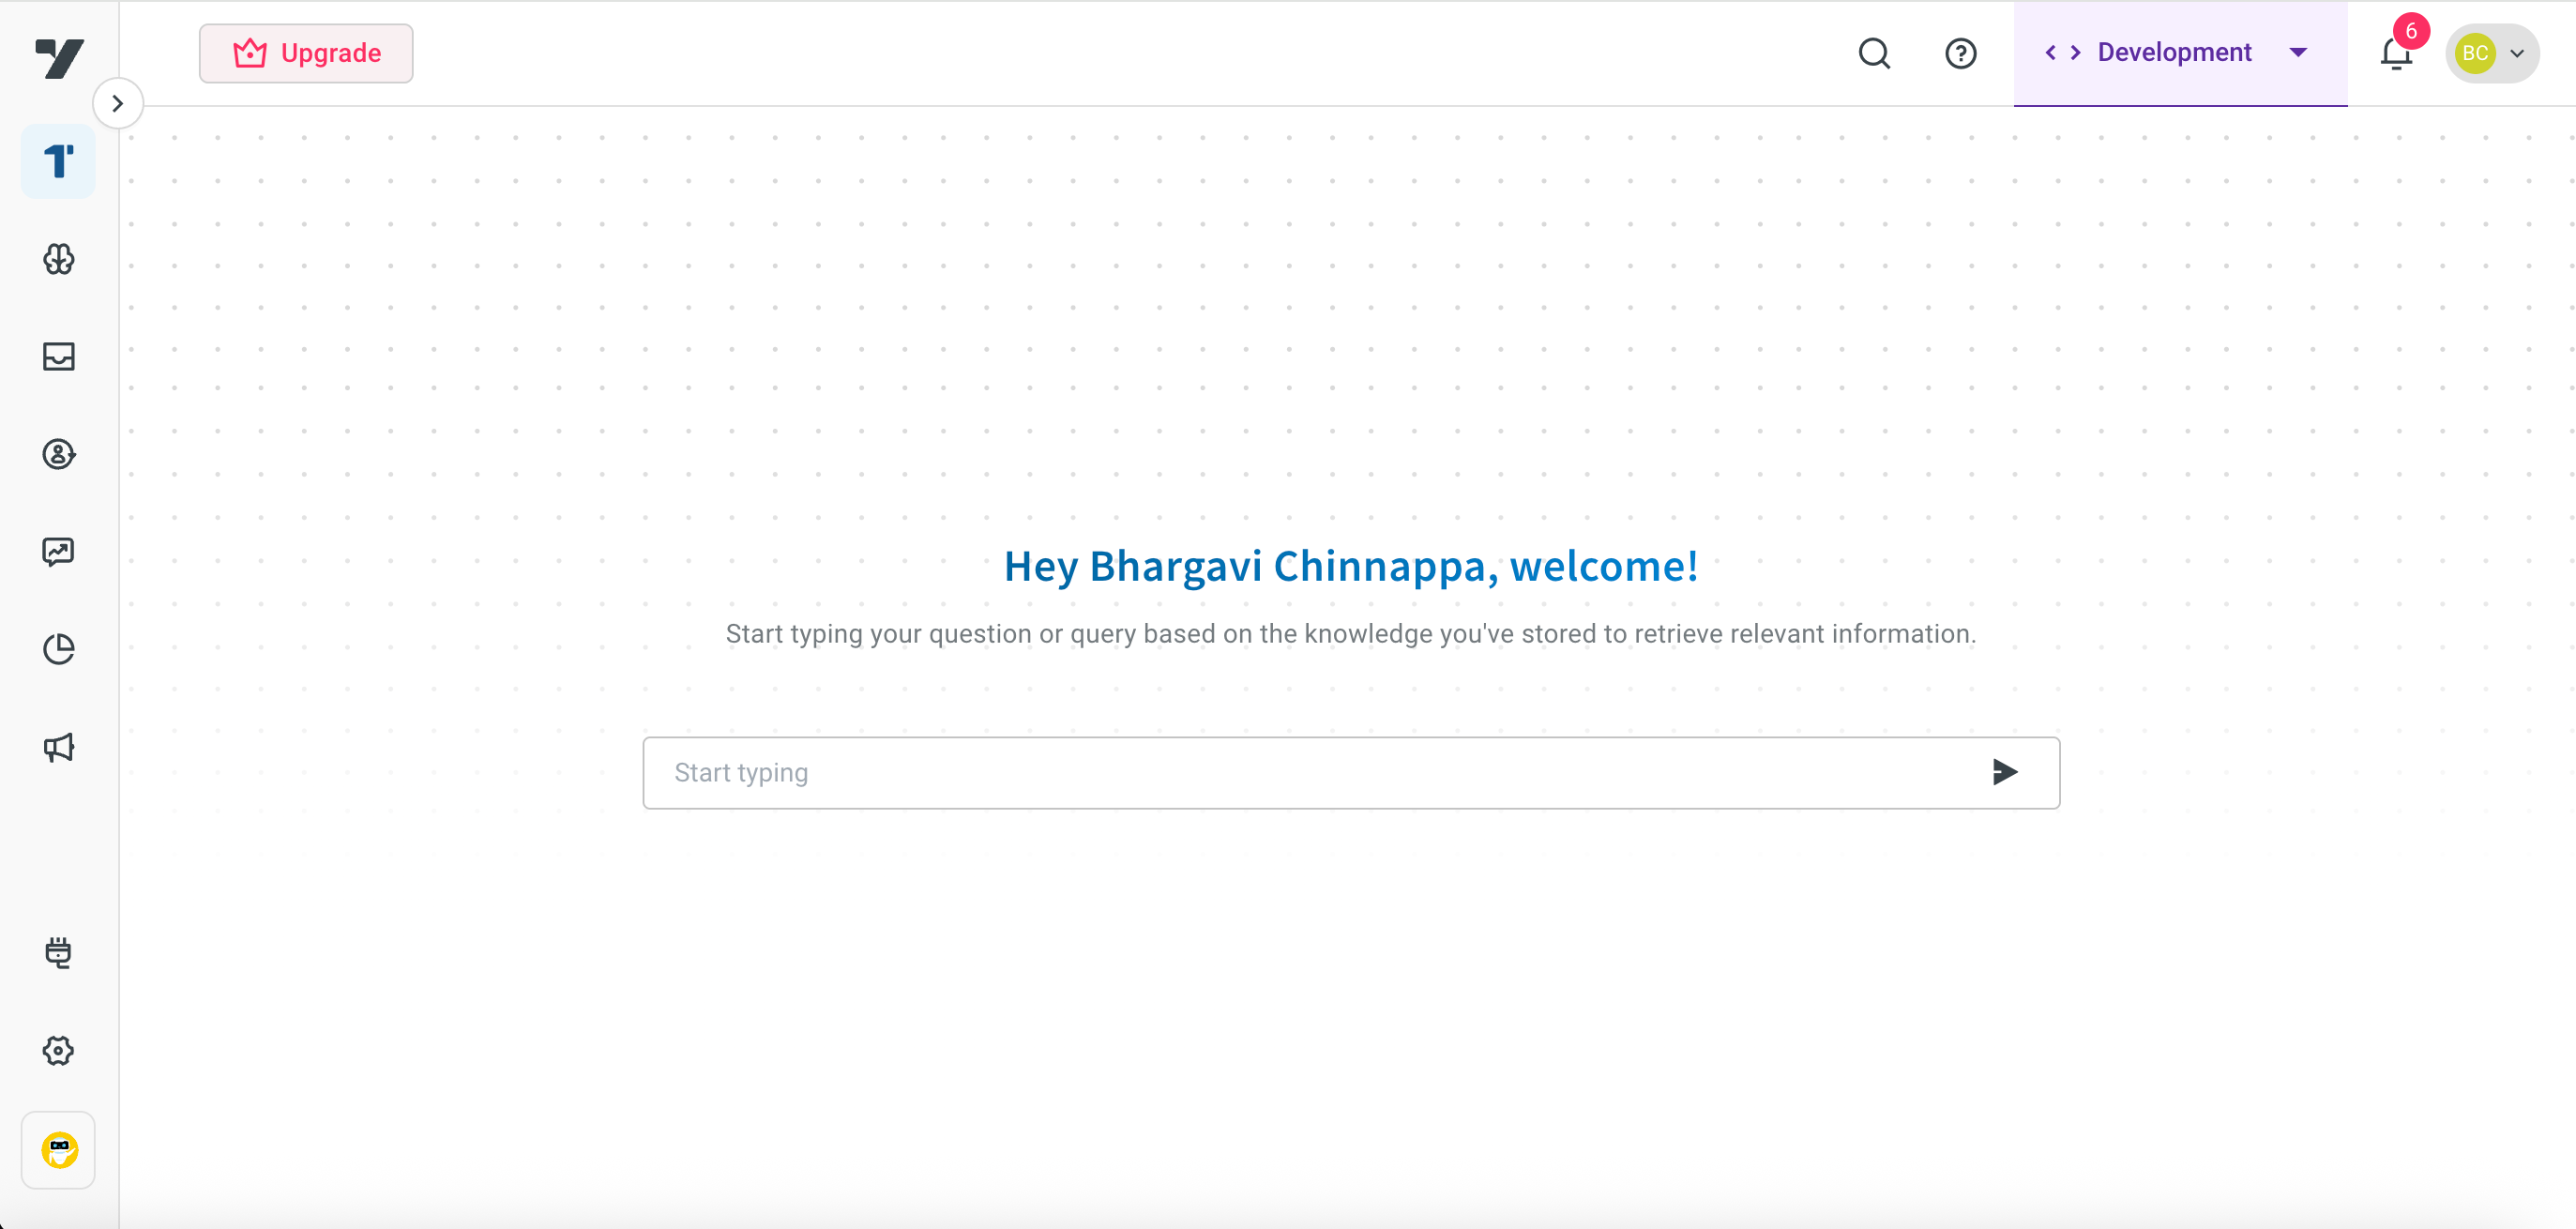
You will be redirected to the Copilot page, where you can Start typing your question or query based on the knowledge you have stored to retrieve relevant information.
For non-super admins - Get Access to existing agents
Request access to your Org’s AI agent
If you’re not a super admin, you’ll see a list of AI agents that have already been created when you log in.
- Request access to a AI agent, [OR] Navigate to Profile settings > My Invites page and click on the respective Request access button.

Accept AI agent access request
You can accept the invite using either of the following two methods:
- Email invitation: If an AI Agent Admin has already provided access, you can accept the invitation received via email.

Platform Notification: You can also accept the invite through the notification available on the platform’s Notifications page.

Access AI agent
If you are a Contributor or a user with access rights (but not the original creator), the way you access and interact with AI agents is slightly different:
Navigate to Profile settings > My Invites. Instead of creating a new AI agent, you will see a list of AI agents that your admin/team has already created.
Click on the respective Request Access button to request access to the AI agent.

Only Super Admin can create a new AI agent. Other users can request access to a AI agent and may have Admin roles, but they do not have the privilege to create a AI agent.